Today's Class 7a Technology Portal >>> ONE ADDRESS FOR EVERYTHING = http://fc.dwight.edu/studentweb
Trimester Two (one) Plan for rest of year Google Sketchup (home, our notes)
Return to year 7 Home / Calendar / Student's page / Moodle / Wiki / My Dwight / Curriculum Map / First Class - email is on your desktop - from home log in here
TECHNOLOGY |
||
| Criteria | Name | Max |
| A | investigate | 6 |
| B | design | 6 |
| C | plan | 6 |
| D | create | 6 |
| E | evaluate | 6 |
| F | attitudes in technology | 6 |
Daily Behaviour = three points each class if there are no infractions: infractions = - 2 points for interruption or talking when I am, - 3 points playing games and - 5 points for touching someone else's computer.
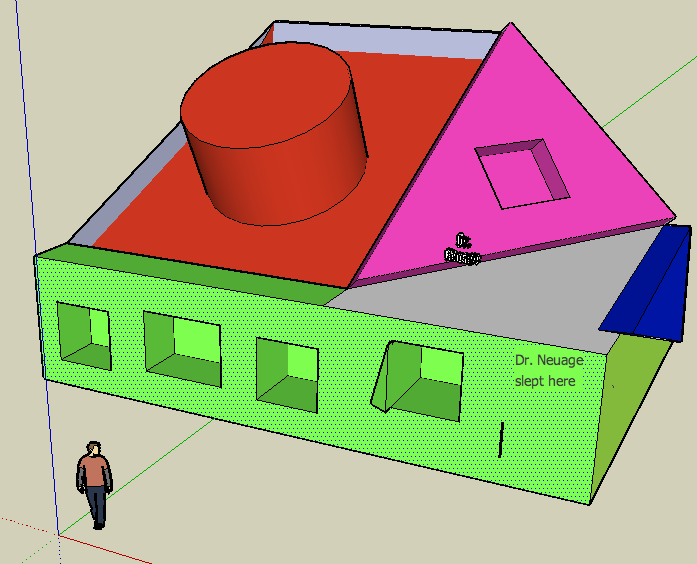
Final SketchUp Project: See Rubric
* Use Google SketchUp (our notes - our index) to create a 3-D version of The Dwight School and to label using pictures
February
TUESDAY February 10th - DAY 5 Parts of a computer and network systems today Computer Components
February 8 Day 3 see rubric - for grade for designing one other class room creating your own furniture.
JANUARY 2008
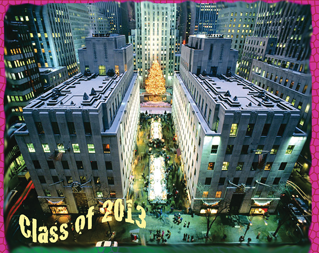
Continue with creating the computer labroom this is one of four projects for this trimester grade. Put your lab into Central Park.
See Google tips for these steps
The first step is to select the location for your SketchUp model. In the Fly To window, type Central Park, New York, New York
THURSDAY 31ST- DAY 3 Working in Sketchup
FRIDAY 25Th - DAY 5 Assembly Day Period 6 1.25 - 2.00 Watch the series "Building 3D models"
WEDNESDAY 16Th - DAY 5 Sketchup -
MONDAY 14th - DAY 3
TUESDAY 8h - DAY 5 Begin using Google Sketchup. Follow and use basic tools to make a house.
DECEMBER 2007
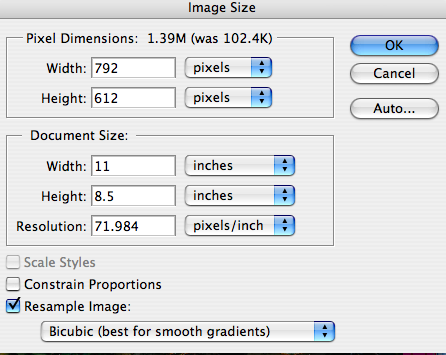
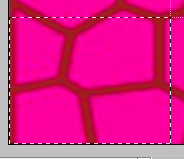
TUESDAY 4th - DAY 3 - Photoshop project. We are enlarging this photo >
 Each of you will have a section to work with. The final result will be an 11 by 8.5 image that will be printed on glossy paper and put together as a large thingy for our wall.
 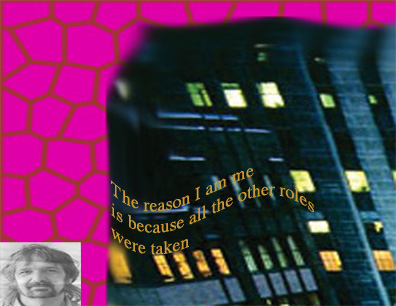 .
.
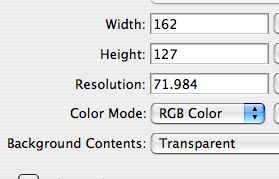
Here is the process - don't stuff it up!!!!!


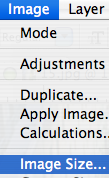
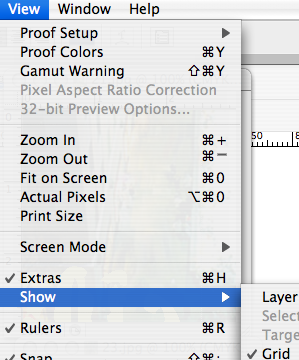
 >>>
>>> 
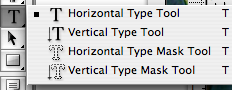 and go-for-it
 >>>> Select a shape
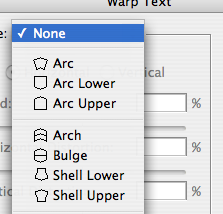
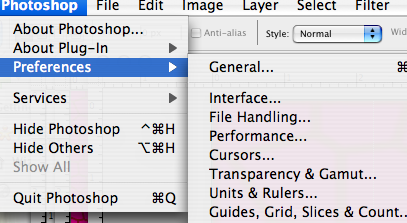
Photoshop project.
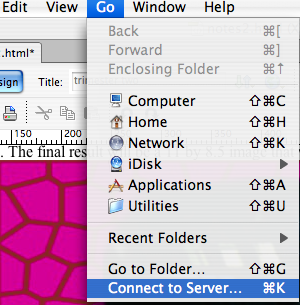
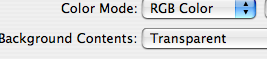
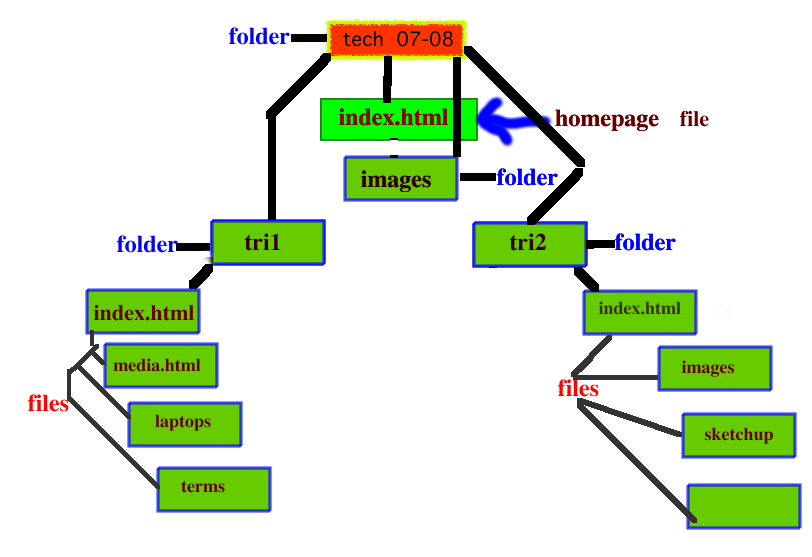
DAY 5 We will work on our homepage in Dreamweaver.
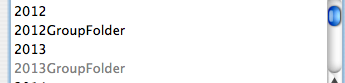
Create a new folder in your site folder and name it tri2 then add files for example:
MONDAY 26th - DAY 3 Next class we will begin Google Sketchup. As I will be putting your grades up tomorrow today is your last chance to finish any assignments on Moodle. You will also be assigned a computer for you to use each class as it will have your preferences on it and will load faster.