December 01 2005
Exercise One: Make an Award Certificate
Welcome to another month on the technological merry-go-round
If Publisher is not on your desktop, go to
Start > Programs > Microsoft Office > Publisher
Creating a publication - the creative phase of ET
First Creations - certificates of greatness
By the end of today's class you will be able to:
On the left side of the screen you will see the New Publication Task Pane (see the image on the right).
We’ll use the Publications from Print area to initially begin each publication.
It is used in all of their Office modules. It replaces the Microsoft Publisher Catalog that was a part of
the initial Publisher 2000 screen. Once you get used to the Task Pane, and its flexibility, we think you’ll like it.
Move your cursor over Publications to Print and click-the left mouse button.
1. Make a folder in your ET > Word > TWO folder called Publication
Publication for Print > Award Certificates
MAKE YOURSELF A CERTIFICATE and save it in your Word > TWO > Publication as “certificate”

USE YOUR OWN COLOR AND FONT SCHEMES - in the side panel
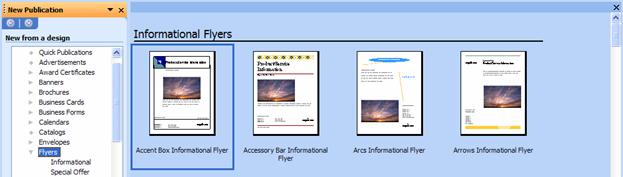
Make a flyer for a fund raiser for your favorite sport’s team > add graphics and fill in all the spaces
MAKE YOURSELF A FLYER and save it in your Word > TWO > Publication as “flyer”
Fill in all the details in the pop-up thingy
![]()
Changing the Color of the Text Background Box
Change the background colors in the AutoShape (the colored oval around your text), if you desire. Again, carefully point to the edge of the colored oval and click the right mouse button. The drop down menu box to the right will appear. This right click has to be precise. You must see the menu to the right and choose Format Object.
USE SOME FILL EFFECTS
![]() After
you have made your text and background changes you may choose to
ungroup the various objects that make up the title object group. We
talked about this at the top of Page 12. One nice
thing - if you ungroup the objects, and move them, it makes editing,
coloring and sizing the individual objects easier. After you
have made any changes you desire, you can re-group the objects in
any pattern you desire. Once you have done this you may again click
on the group objects button.
After
you have made your text and background changes you may choose to
ungroup the various objects that make up the title object group. We
talked about this at the top of Page 12. One nice
thing - if you ungroup the objects, and move them, it makes editing,
coloring and sizing the individual objects easier. After you
have made any changes you desire, you can re-group the objects in
any pattern you desire. Once you have done this you may again click
on the group objects button.
![]()
MAKE YOURSELF A MENU and save it in your Word > TWO > Publication as “menu”
Use Clip Art - and design something brilliant! Make use of the 'Menu Options' in the left - panel